Now, I love the Velbon Ultra Maxi L[a] tripod to death - and it's a shame Velbon has ceased manufacturing it - but it has one weak spot: The plastic bits that make up the locking mechanism in the legs.

You can see the white plastic in the good joint above. The lower joint has failed and only the attachment holes remain.
I don't know if it is temperature, moisture or any other environmental factor that causes it, but these little - but oh so vital - plastic bits have been the bane of two of my tripods so far. The first lasted almost six years before a joint failed. (It now lives on as the monopod for less and stabilizer for less). The second one packed up after a little over a year, little plastic bits dropping off as I extended the leg to shoot A Snowy Evening.
Realizing that Velbon no longer make these excellent tools, and that the replacement Ultrek series[b] tripods weren't quite as good, I ordered two new Ultra Maxi Ls from Amazon. Even with the sobering realism that my second tripod only lasted for a year, these two should last me until a new tripod, as good as the Ultra Maxi L, comes out.
And yet... as I got home with the package from Amazon, I couldn't shake the idea that some kind of repair should be attempted. After all, the only thing that had broken was a tiny flimsy bit of plastic.
This is what I Frankensteined up:

Latest tripod to the left, first tripod to the right. Right is donor, left is recipient.

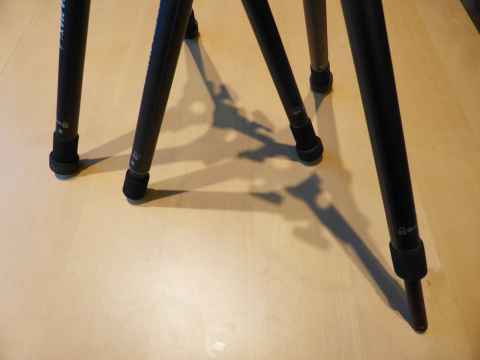
This is the nut holding the lower and upper parts of the leg assembly.

The easiest way is to use these two holes...

...stick a screwdriver through them, and twist. (You may need a bigger screwdriver.)

Once it has come off, we can open the assembly.

It comes apart along the horizontal seam.

I recommend that you remove the bottom part, as the little springs and tabs used to set leg angle are in the top part.

The leg can then simply be lifted out of the socket.

Behind the leg is the locking tab.

Now, I managed to fumble a bit and suddenly I had springs flying all over the place and locking tabs falling out. This is how you put things back together: The hook end of the spring goes here, with the hook going inbetween the lower and upper halves...

The spring then goes here on the tab. It'll make sense when you try to put it together.

The donor leg. The assembly is just the disassembly in reverse - push the leg back in, put the lower half on, put the nut on.
Surgery complete! The "pegleg-tripod" (with two damaged legs) to the right.
2015-01-10 13:45